

Key Takeaways
Why Gutters Deserve Regular Attention
Gutters perform a straightforward but critical job: they channel rainwater away from your roof, walls, and foundation. When they fail - whether from neglect, damage, or age - the consequences extend well beyond a leaky trough. Overflowing water can erode soil around your foundation, encourage basement moisture intrusion, cause fascia rot, and even contribute to ice dam formation in colder climates.
Most homeowners treat gutters as an afterthought, addressing them only when something visibly goes wrong. A more proactive approach - knowing what to look for and when to act - saves both money and frustration over time. As part of a seasonal home maintenance routine, gutter care fits neatly into spring and fall schedules.
Time Your Cleanings Around the Seasons
The two most effective cleaning windows are late spring - after tree seeds and pollen have fallen - and late autumn after the last leaves drop. Cleaning in both windows prevents the debris buildup that causes ice dams in winter and mosquito-breeding standing water in summer. See your full seasonal home maintenance calendar for a month-by-month schedule.
The decision tree is simpler than many homeowners expect: debris-related symptoms almost always mean a cleaning is due; structural or material symptoms mean repair or replacement is needed. The steps below help you make that determination accurately.
What You'll Need
What you will need
Stable extension ladder
Provides safe access to gutters along the roofline for inspection and cleaning.
Work gloves
Protects hands from sharp debris, metal edges, and organic matter inside gutters.
Garden trowel or gutter scoop
Used to remove compacted leaf and debris buildup from the gutter channel.
Garden hose with spray nozzle
Flushes remaining debris toward downspouts and reveals drainage blockages.
Gutter sealant (polyurethane or gutter-specific)
Seals small cracks and seam separations from inside the gutter trough.
Gutter screws and screwdriver
Re-secures loose gutter hangers or brackets to the fascia board.
Bucket or tarp
Collects debris removed from the gutter to keep the area below clean.
Step-by-Step: Assess, Clean, and Decide
Working at Height: Safety First
Gutter inspection and cleaning involves working from a ladder, which carries a real risk of falls. Always use a stable, properly rated ladder on level ground and have a helper present. If your roofline is more than one story, or if you are not comfortable on a ladder, hire a licensed professional rather than attempting the work yourself.
Inspect the gutters from the ground first
Before climbing a ladder, walk the full perimeter of your home and observe the gutters from below. Look for sections that visibly sag or pull away from the roofline, peeling paint or rust streaks on the exterior siding, and any standing water visible in the channel. These observations help you target problem areas and decide whether you are dealing with a cleaning job or something more serious.
Clear debris from the gutter channel
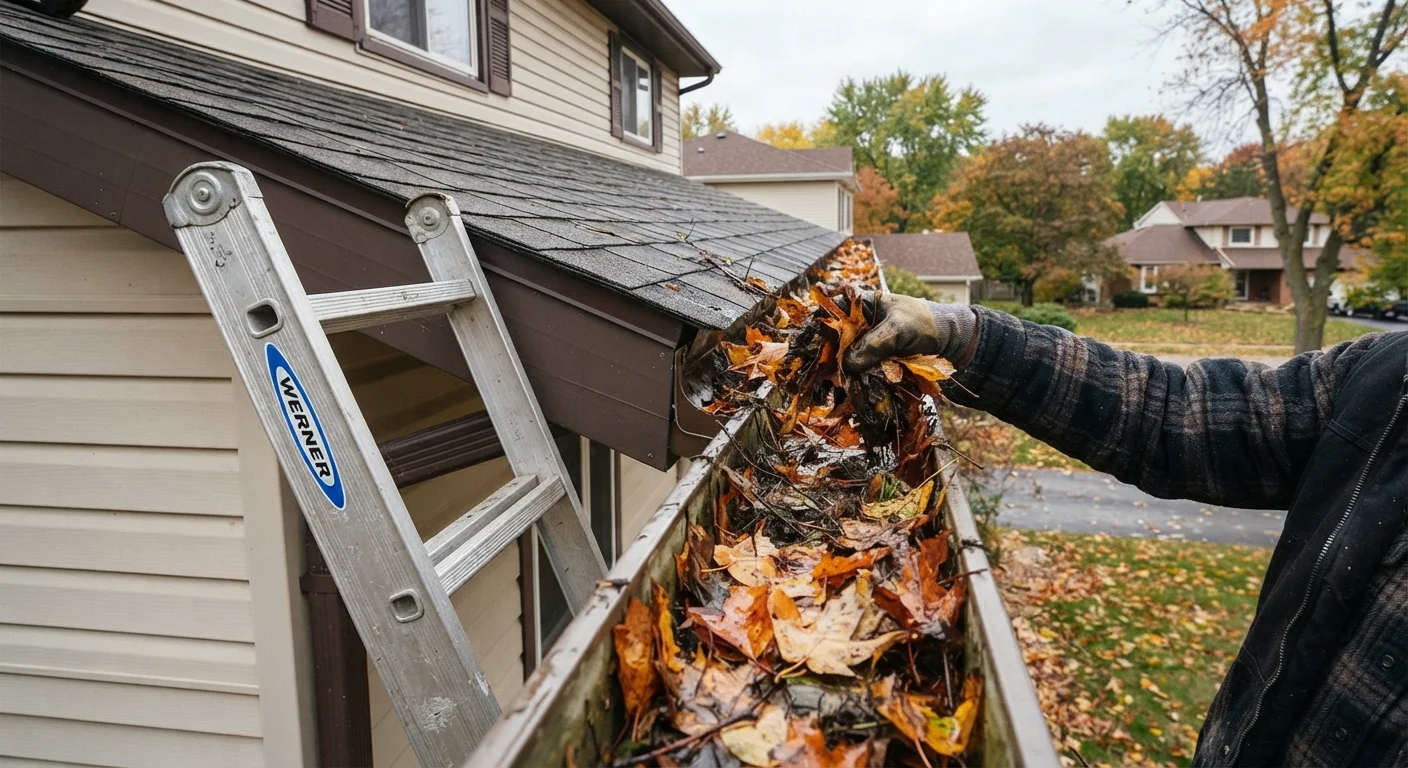
Working from a stable ladder, remove leaves, twigs, and compacted debris using a gutter scoop or garden trowel. Work in sections, depositing debris into a bucket or onto a tarp below. Pay particular attention to areas just above downspout inlets, where blockages most commonly form.
Flush with water and check downspout flow
Once debris is removed, flush the entire gutter run with a garden hose starting from the end farthest from the downspout. Water should flow steadily and drain quickly through the downspout. Slow drainage or water backing up indicates a downspout blockage. You can often clear this by inserting the hose directly into the downspout opening and running full pressure.
Identify signs that repair - not just cleaning - is needed
With the gutters clean and wet, inspect closely for the following repair indicators:
- Visible cracks or holes in the gutter channel, even small ones
- Separated seams where two gutter sections join
- Loose or missing hangers causing sections to sag or tilt
- Improper pitch - water pooling rather than draining toward the downspout
Small cracks and separated seams can typically be addressed with a gutter-specific sealant applied from inside the dry channel. Loose hangers can be re-secured with gutter screws. Pitch problems may require repositioning hanger brackets - a straightforward repair for a handy homeowner or a gutter technician.
Recognize when full replacement is the right call
Some conditions go beyond what cleaning or spot repairs can fix. Consider replacement when you observe:
- Widespread rust, corrosion, or holes throughout multiple sections
- Gutters that repeatedly pull away from the fascia despite re-fastening
- Significant damage to the underlying fascia boards, suggesting prolonged water intrusion
- Gutters that are more than 20 years old and showing consistent failure across the system
Replacement is also worth evaluating if your current gutters are undersized for your roof's drainage area - a common issue in older homes. New homeowners especially often inherit outdated gutter systems that were never properly sized.
Keeping Gutters in Good Shape Long-Term
Once your gutters are clean and any repairs are addressed, a few habits help maintain the system between service intervals. Trim back tree branches that hang directly over the roofline - they are the primary source of organic debris accumulation. After significant storms, do a quick visual check from the ground to catch displaced sections or debris buildup before it compounds.
Gutter guards - mesh or solid covers installed over the channel - can reduce debris entry, though they do not eliminate the need for periodic inspection entirely. Some common home maintenance beliefs overstate how maintenance-free guarded gutters are; small debris and shingle grit still accumulate over time.
Finally, think of gutter maintenance as part of a broader water-management picture. Downspout extensions, proper grading around the foundation, and well-sealed exterior joints all work together. Understanding how moisture sealing works in adjacent areas of your home reinforces the same principle: keeping water moving in the right direction protects the structure as a whole.