

Key Takeaways
Why 2FA Makes a Concrete Difference
A strong password is a necessary foundation, but it is not a complete defense. Data breaches, phishing attacks, and credential-stuffing campaigns mean that passwords for millions of accounts are tested against other services constantly. Even carefully chosen passwords can be compromised through methods that have nothing to do with how complex they are.
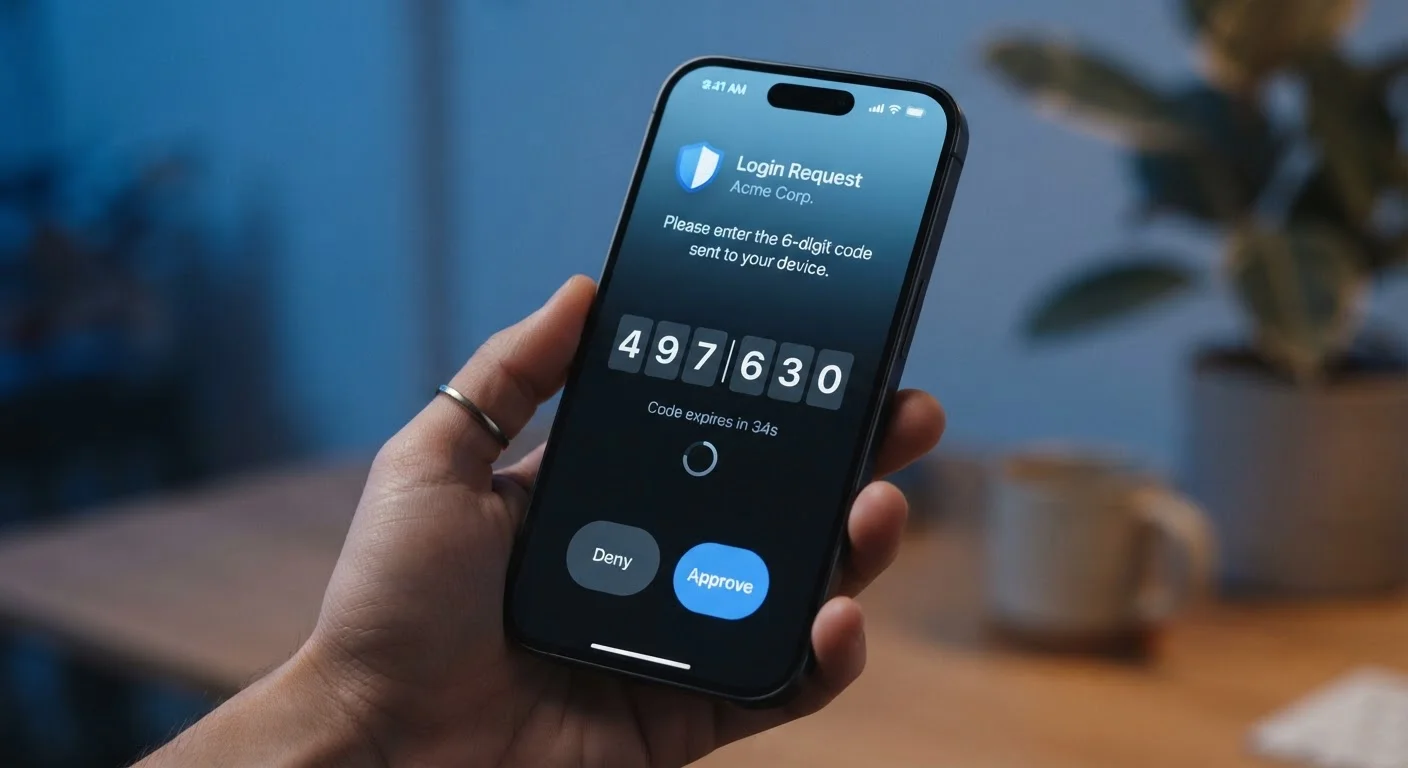
Two-factor authentication (2FA) addresses this gap by requiring a second proof of identity at login - typically a time-sensitive code that only you can generate. Even if an attacker has your exact password, they cannot get in without that second factor. This is why security professionals consistently treat 2FA as one of the highest-leverage steps an ordinary user can take.
Not all 2FA methods are equally strong. Different 2FA types offer different levels of protection - authenticator apps are more resistant to interception than SMS codes, and hardware security keys are stronger still. For most everyday accounts, an authenticator app strikes a practical balance between security and convenience.
Email Accounts Are the Highest Priority
Your primary email account acts as a master key - it receives password reset links for nearly every other service you use. Enabling 2FA on email before any other account gives you the most security per minute spent. Once your email is protected, attackers lose their easiest path into your other accounts.
This guide walks through the setup process so you can enable 2FA confidently, even if you have never done it before. The steps are consistent enough across major platforms that once you have done it once, subsequent accounts take only a few minutes each. For a broader view of account hygiene, see our complete online safety audit checklist.
What You Need Before You Start
Setup requires only a few things: your account credentials, your smartphone, and about five to ten minutes per account. Installing an authenticator app beforehand means you will not have to pause mid-setup to find and download one.
What you will need
Authenticator App
Generates time-sensitive one-time passcodes (TOTPs) offline, serving as your second factor without relying on SMS.
Password Manager
Securely stores backup/recovery codes provided during 2FA enrollment so you can retrieve them if you lose device access.
If you are also setting up 2FA on a new phone as part of your initial configuration, the broader new phone security checklist covers additional settings worth reviewing at the same time.
Step-by-Step: Enabling 2FA on Your Accounts
The process below applies to most major platforms. Specific menu labels differ, but the underlying flow - find Security settings, choose authenticator app, scan QR code, confirm with a code, save backups - is consistent across email providers, financial apps, and social media platforms.
Install an authenticator app on your phone
Before you touch any account settings, get an authenticator app onto your device. These apps generate rotating six-digit codes that expire every 30 seconds. Common choices include Google Authenticator, Microsoft Authenticator, and Authy - all are available in the iOS App Store and Google Play Store. Authy also supports multi-device sync and encrypted cloud backups, which can be useful if you upgrade phones frequently.
Navigate to Security settings in your account
Log into the account you want to protect. Look for a Settings menu - typically accessed through a profile icon or gear icon. From there, find a section labeled Security, Privacy & Security, or Sign-in & Security. The exact path varies by platform, but the label is almost always one of these. Within that section, look for Two-Factor Authentication, Two-Step Verification, or Authenticator App.
Select the authenticator app method and scan the QR code
Choose the Authenticator App or TOTP option when prompted. The platform will display a QR code on screen. Open your authenticator app, tap the + or Add Account button, and point your phone's camera at the QR code to scan it. The app will add the account and immediately begin generating six-digit codes. If you cannot scan the code, most platforms offer a manual entry key - a long alphanumeric string you can type in instead.
Enter the verification code to confirm setup
The platform will ask you to enter a current code from the authenticator app to confirm the link was made correctly. Open your app, read the six-digit code shown next to the account name, and type it into the verification field on screen before the 30-second timer resets. A successful entry confirms that the app and account are paired. If the code is rejected, check that your phone's clock is set to automatic - TOTP codes depend on accurate time synchronization.
Save your backup codes somewhere safe
Immediately after enabling 2FA, most platforms generate a set of one-time backup codes - typically 8 to 10 codes, each usable once if you lose access to your authenticator app. Do not skip this step. Save them in a password manager, print them and store them securely, or write them down and keep them with important documents. Losing both your phone and your backup codes at the same time can result in permanent account lockout.
Repeat for your highest-priority accounts
Work through your most critical accounts in order of risk: email first (it controls password resets for everything else), then financial accounts, then social media and cloud storage. Prioritize any account that stores payment information or sensitive personal data. You do not need to secure every account at once - even protecting your primary email and one financial account meaningfully reduces your exposure.
Back Up Before You Get Locked Out
The most common 2FA support request is "I lost my phone and can't get in." Backup codes are the solution the platform already built for this - but only if you saved them. Store them somewhere you can access independently of the account and device they protect. Without backup codes, account recovery can be slow, difficult, or in some cases impossible.
Don't Rely Solely on SMS Codes
Text message 2FA is meaningfully better than no 2FA, but it carries a known vulnerability: SIM-swapping, where an attacker convinces your carrier to transfer your phone number to their SIM card. If your platform offers an authenticator app option, use it instead. Reserve SMS as a fallback only when no other option exists.
After Setup: Staying Secure Long-Term
Once 2FA is active, your login experience will change slightly: after entering your password, you will be prompted to open your authenticator app and enter the current code. Most platforms also offer a "trust this device" option that skips the 2FA prompt for devices you use regularly. Use this selectively - it is convenient on your personal laptop, but skip it on shared or public devices.
Periodically review which devices are listed as trusted in your account security settings and remove any you no longer use. If you upgrade your phone, transfer your authenticator accounts to the new device before wiping the old one - most authenticator apps include an export or transfer feature for exactly this situation.
Finally, 2FA is one strong layer in a broader set of habits. Staying safer online involves a combination of strong credentials, thoughtful app permissions, and awareness of phishing - 2FA handles the credential-theft risk, but not every threat vector.