

Key Takeaways
Why Surface Prep Determines How Long Your Paint Job Lasts
Most homeowners pick up a roller and go straight to painting. The results often look fine - for a few months. Then the bubbling starts, or the edges begin to peel, or the new color shows every old scratch and dent underneath. None of that is the paint's fault. It's what happened - or didn't happen - before the first stroke was ever applied.
Paint is a finish, not a filler. It won't hide surface problems; it will highlight them. A wall that hasn't been properly cleaned, repaired, and primed gives paint nothing solid to grip. Understanding this one principle will change how you approach every painting project going forward.
As first-time homeowners often discover, skipping preparation steps is one of the most common - and costly - maintenance mistakes you can make at home.
The Core Prep Steps You Should Never Skip
Surface preparation follows a clear sequence. Each step builds on the last, so cutting corners at any stage compromises what follows. Here's what thorough prep actually looks like:
- Clean the walls thoroughly. Grease, dust, and grime prevent paint from bonding. A solution of warm water and a small amount of dish soap works well on most walls. In kitchens, a degreaser is often necessary. Allow walls to dry completely before moving on.
- Repair damage. Fill nail holes and small dents with lightweight spackling compound. For hairline cracks, use a flexible paintable caulk or joint compound, feathered thin at the edges. Larger cracks may signal structural movement and deserve a closer look before you paint over them.
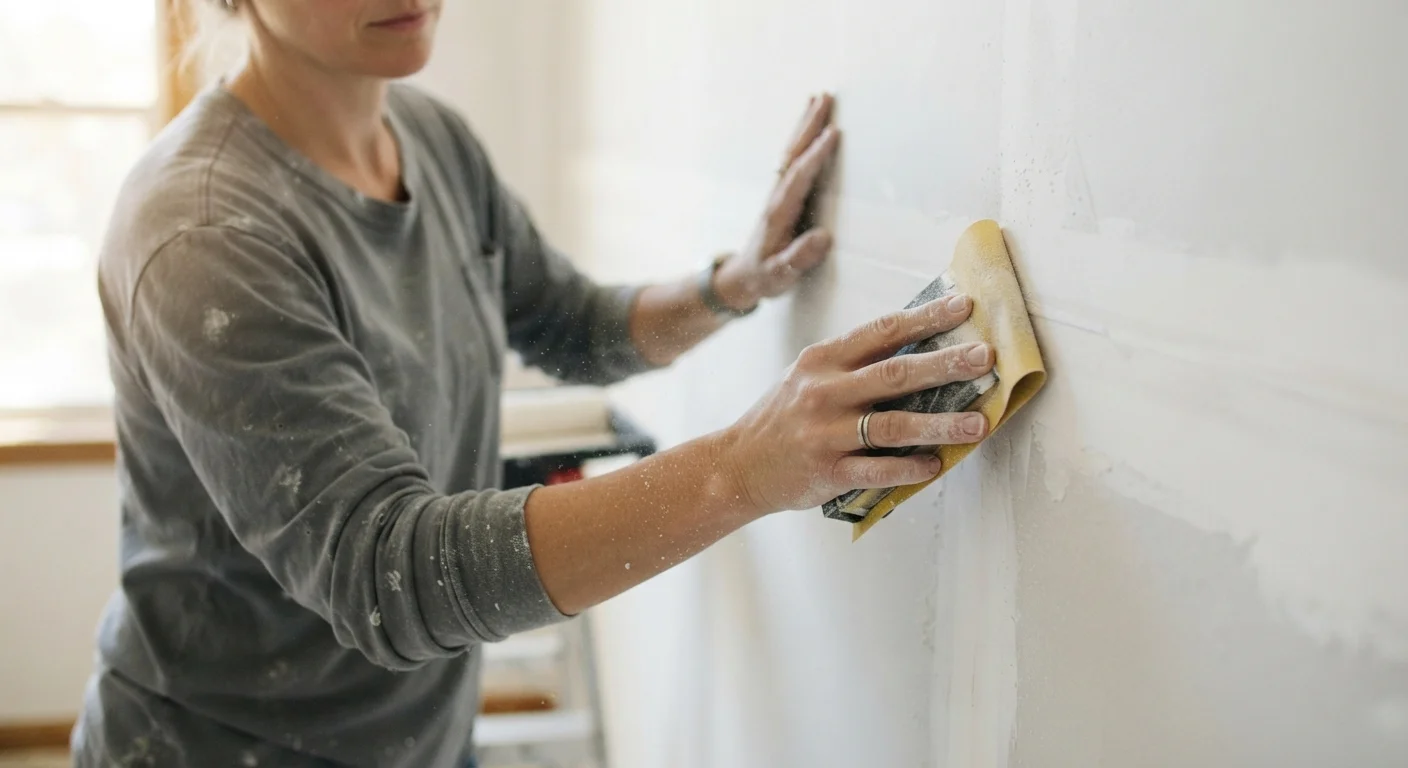
- Sand repaired areas smooth. Once fillers are fully dry, sand them flush with the surrounding wall using 120-150 grit sandpaper. Wipe away all sanding dust with a slightly damp cloth - dust left on the surface will show through the finish coat.
- Tape and protect surfaces. Apply painter's tape to trim, outlets, and edges. Lay drop cloths over floors and furniture. This isn't technically prep for adhesion, but it protects your work environment and keeps the job clean.
Dry Time Is Not Optional
Rushing between prep steps is one of the most common ways homeowners undermine their own work. Spackling compound, joint compound, and primer all need to dry fully before the next product goes on. Check product labels for minimum dry times, and factor in humidity - high moisture in the air extends drying time significantly. When in doubt, wait longer rather than less.
In bathrooms or areas with moisture concerns, inspect the wall for signs of mold before painting. Painting over mold does not eliminate it. If you spot discoloration that looks like mold growth, address the moisture source and remediate the affected area appropriately before proceeding - or consult a professional. You can also review how grout and caulk function in wet areas to understand the bigger picture of moisture management in kitchens and bathrooms.
Choosing the Right Primer - and Knowing When to Use It
Primer is the step that ties cleaning and repair to a durable finished coat. It creates a consistent, porous surface that paint can lock onto. Skipping it - especially on new drywall, heavily patched walls, or surfaces being dramatically changed in color - routinely leads to uneven sheen, poor coverage, and premature peeling.
Primer and Paint-Plus-Primer Are Not the Same
Many paints are marketed as "paint and primer in one." These products can work well for repainting over a clean, sound, similar-color surface - but they are not a substitute for a dedicated primer coat on new drywall, heavily stained walls, or surfaces where adhesion is a concern. If you're unsure, a separate primer coat is always the safer choice for long-term results.
Use a PVA primer on new or unfinished drywall - it seals the porous surface and prevents the finish coat from soaking in unevenly. On walls with heavy stains, smoke damage, or water marks, a shellac-based or oil-based stain-blocking primer will keep those problems from bleeding through. For most repaints over a sound existing surface, a quality water-based latex primer is sufficient and easy to clean up.
Apply primer evenly and allow it to dry according to the manufacturer's instructions before painting. One coat is usually enough; heavily patched walls may benefit from two.
Making the Work Last: Final Checks Before You Open the Paint
Even after thorough prep, a few final checks will protect the quality of your finish. Run your hand across the wall - you should feel a smooth, uniform surface. Look across the wall at a low angle using a lamp or flashlight; this raking light will reveal any imperfections you may have missed. Touch up as needed before painting.
Check that the room temperature is appropriate for painting. Most interior latex paints require temperatures between 50°F and 85°F and moderate humidity for proper curing - conditions outside this range can affect how the paint levels and adheres. Read the label on your specific paint for guidance.
Good surface prep is a form of routine home care, no different from the seasonal tasks outlined in a fall home preparation checklist. When you treat it as a standard step rather than an optional one, your painted surfaces will look better and hold up longer - often for many years with minimal touch-ups.
This article is intended for general informational purposes only. Always follow manufacturer instructions for specific products and consult a licensed professional for repairs that involve structural concerns, significant water damage, or regulated electrical and mechanical systems.